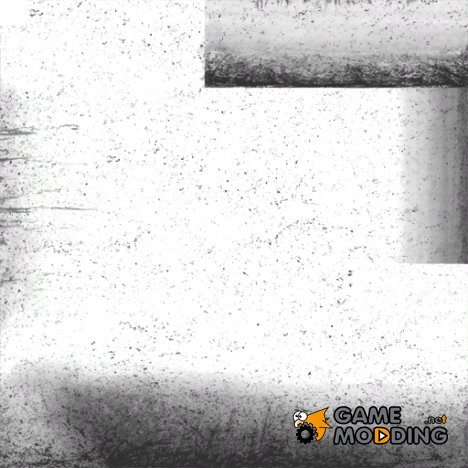
A huge advantage that You can do dirt-mapping for any part, just adding to the texture of the dirt, and add in the txd file with the PostScript _d to the name of the texture. For example, You want to do dirt-mapping for the wheel, its texture is called disk its dirty texture will be called disk_d. And if the part is flooded with monochrome material, not texture? Quite simply, photoshop canvas 8x8, fill it with color of the material, and save. In Zmodeler for the material set the color white, and select our 8x8 texture, the script will change the texture detail on her dirty counterpart. To body just create a pure white texture to 8x8, call it remap and store it. Applied to the prim material. Personally, I used a dirt texture from gta 4:
But you can use any texture mud or paint yourself. So we take our dirt texture as the clean texture of the body we call remap, then this is called remap_d. But the texture stood crooked. Need pretextural the body.
ATTENTION, if Your model has a painting, then you need to redo the texture of the dirt in accordance with the UV mask, otherwise once You pretextured body painting will be displayed correctly.
As quickly and correctly pretextural body:
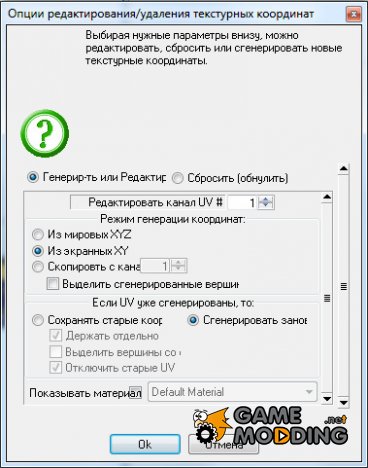
Include damaged items, if any, that would damaged parts dirt texture not appear crooked. Now, in object mode choose the whole body, put the mode selected, and remove Automatic. Now go to polygon mode, and press at any point. On the Selection --> the Material, and looking for material dirt. Press "Select", highlighting the polygons of the body, goes into the vertices (vertex), and click Surface --> Mapping --> Edit UV and click at any point. Further, under the line "If UV already generated, then:" put the dot next to "regenerate" and click "OK":
Texture has been updated, but still sits crooked. In one of the working window select the "UV Editor", remove mode is selected, and goes into the objects. Further, by Modifying --> Move and Scale the correct mapping of the texture. But what to do if you want to place the dirt on top of the hood, and in the editor it is displayed on the side? Not a problem, choose one of the axes (X or Y, depending on the current view), and rotate the part with Modification --> Rotate until you get it as You wanted. I did it like this:
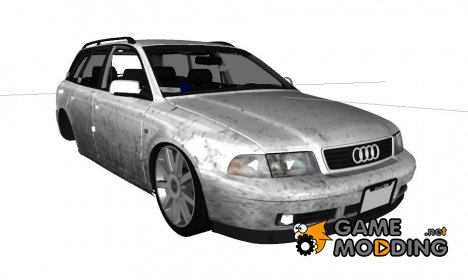
Further, instead of a texture remap_d put back our 8x8 texture remap, don't worry, our UV texturing is not reset, the dirt in the game will be displayed exactly as You asked earlier. But I said at the beginning that dirt-mapping can be done for any part, it really is. For example, if you make a dirt texture for the wheels, it will be displayed along with the dirt on the body, the same is true for any part with dirty texture. So you can implement some interesting things, for example, the model in the photo, along with the body still dirty and wheels with all glass.
But as already texturename details? Even easier! Just in photoshop redraw our part under a dirty, rename to "названиедетали_d" and add the txd file in Zmodeler to do anything unnecessary.
Don't forget to add the remap and remap_d in the txd file of the model.
That's all, check in the game. If you have any questions - write in comments or me in private messages. See you soon!


